Emulating ARM machines on QEMU hasn’t been straight-forward due to lack of a
standardized way to configure the bootloader across different ARM boards. One
had to extract the kernel image, and specify the boot options on the command
line (-kernel, -initrd), so QEMU knows what to do with its machine-specific
boot code.
We can make things easier with the help of UEFI (namely EDK2, with ARM support), so installing and booting Linux just works like on a x86 PC target.
Prerequisites
- QEMU system emulator for ARM.
- EDK2 binaries for ARM. They can be extracted from the debian package
qemu-efi-armorqemu-efi-aarch64, depending on your target arch. - Official Debian installer iso for ARM.
Booting the installer
NOTE: This example is for arm32
First of all, create a new disk image via qemu-img. Copy EDK2 FW binaries
(AAVMF32_CODE.fd and AAVMF32_VARS.fd, the latter is for hosting volatile
variables) and the installer image to the same directory.
We will be emulating the virt board, which has support for virtio devices.
| |
- The system is given 512M of RAM and 4 cpus
(depending on your QEMU version, this could mean either 4 sockets or 4 cores),
the CPU capability is set to
cortex-a15. -device qemu-xhci -device usb-kbdattaches a low-overhead USB XHCI bus, and a USB keyboard. You could add a mouse if needed. Alternatively, on-board USB support that comes withvirtis available by passing-usb.- Next two lines attach the installer iso as a USB storage device, and the rootfs disk as a virtio block device.
-nic user,model=virtioenables basic user-mode networking, backed by the virtio NIC.-device ramfbadds a simple display device, which is just a frambuffer in guest memory. QEMU ARM system emulator does not emulate a display device by default. The standardstdVGA won’t work since the installer environment lacks required DRM kmods.
The graphics & input part can be left-out (with -nographic),
in which case the installer will be presented on the serial console.
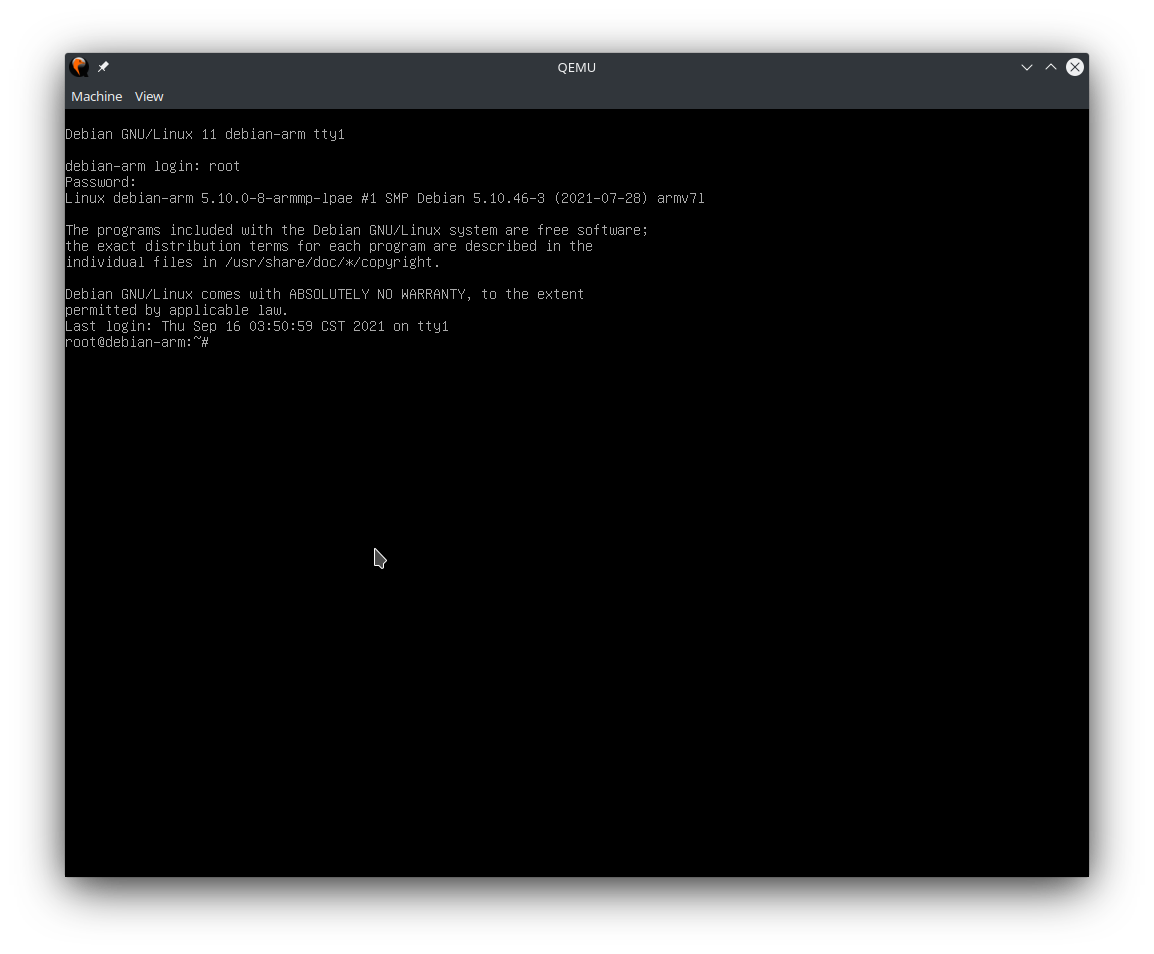
The guest will now boot into the installer iso. Simply follow the installation instructions, the grub-efi bootloader will be installed to the EFI firmware automatically.
Booting the installed system
No additional configuration is required.
Don’t forget to attach the UEFI firmware via -pflash.
| |
There are a few additional configurations:
- Host porting forwarding is enabled for host port 2345, to guest port 22. This way we are able to ssh directly into the guest system.
- Attach a shared folder to the guest, backed by
9pfs. The folder can be mounted in the guest viamount -t 9p -o trans=virtio share /path/to/mount
Voilà! Your new virtual ARM system is ready to go!